A couple weeks ago I saw a DIY project that was inspired by the below Pottery Barn chandelier. Amazing and right up by style alley! I love anything rustic so this made me drool.

So Daniel and I made our own! Here are pictures of a few stages:
Daniel did all the electrical work himself. We just bought 18/2 black cable, he cut it to size, ran it through the mason jar lid, & attached a lamp socket to the end.


He also built the box it hung from out of an old palette from his work's warehouse. It was perfect. (Sorry didn't get a good picture of that before he hung it)
Before:
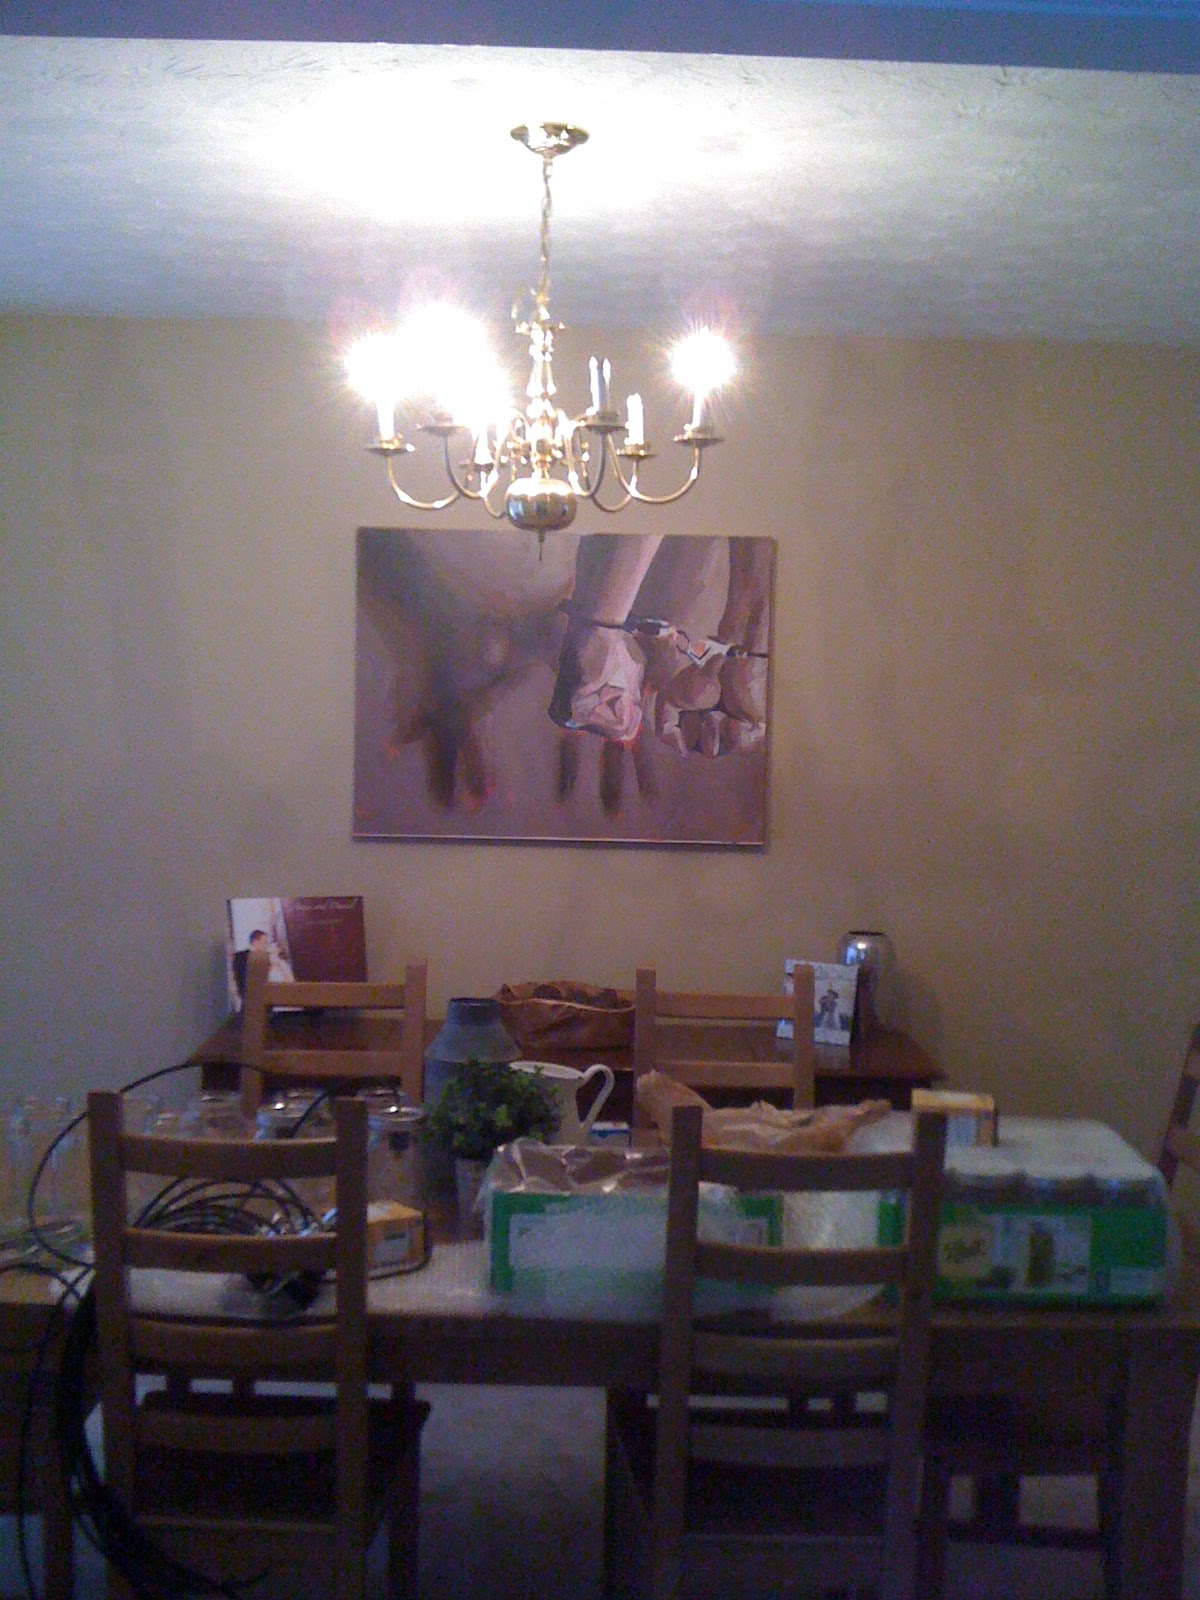
After:


It looks so much better in person! These were taken with my phone...sorry for the poor quality. We find ourselves just sitting at the dining room table just to enjoy the chandelier (lame, I know)...


AMAZING!
ReplyDeleteLove it!!!
ReplyDeleteAnna, this is fabulous in an unreal, I can't-believe-y'all-made-that kind of way!
ReplyDeleteIt really is an awesome chandelier!! it totally dresses the room! =)
ReplyDeleteThat is so amazing - I'm in awe! If only I understood electrics I'd try it myself!
ReplyDeleteI was wondering how they were all attached inside the box. Did you have to worry about amps and wattage? I love it! What a fantastic idea, I'd like to try it myself. I can manage the wire to the light socket bit but I'm not too sure about how I would attach it all to the box at the ceiling. Any help you could offer would be great. Thanks!
ReplyDeleteI agree with Laureen! I just need more info on how *exactly* it was done? I really want to try this!
ReplyDeletedo the jars get terribly hot?
ReplyDeleteI would love help on the actual box
ReplyDeleteLove this but the yellow/orange does not show up well..... It's very hard to read
ReplyDeleteWhat did you use for the box? thanks!
ReplyDeleteMy wife and I are planning on making something like what you have done. How were the lights attached inside the box? Can you post or send pictures?
ReplyDeleteI agree w/others who need more help with inside the box. H-E-L-P
ReplyDeleteI suspect those jars get pretty hot, so maybe add a few drilled/punched holes in the lids to allow air flow?
ReplyDeleteThat is a fantastic chandelier! I stumbled across your blog from Pinterest, and it's so cute!
ReplyDeleteHi! I enjoy your blog, but the yellow writing on yellow background makes for difficult reading! Would be nice if you could pick a different colour! Thanks
ReplyDeleteGorgeous! Just what I am looking for--thanks for the inspiration!!
ReplyDeleteBeautiful!
ReplyDeleteHello, I would love to try my hand at this! It is beautiful!. Where did you get the wire from? I'm having a hard time finding something similar. Thanks alot!
ReplyDeleteYou need to add ventilation to the jars or you WILL fry the sockets.
ReplyDeleteCan't read the khaki colored text on the khaki print background, sorry. Only can read the part on the white background. The blue lettering shows up just fine.
ReplyDeletelove this light fixture, thanks for sharing!
ReplyDeleteWhere did you find the wire and sockets?
ReplyDeleteLove the look. I am hoping to do something similar in my kitchen and dining room. What did you do to secure the flat lids to the rings?
ReplyDeleteGreat idea but why is this in a yellow font against a gray background? I can't read a thing.
ReplyDeleteI must say that I believe your project looks very interesting. However your color choice of orange and gray as well as
ReplyDeleteblue on gray sucks!
very hard to read.